
Easy to follow instructions for the best chocolate fudge every time!
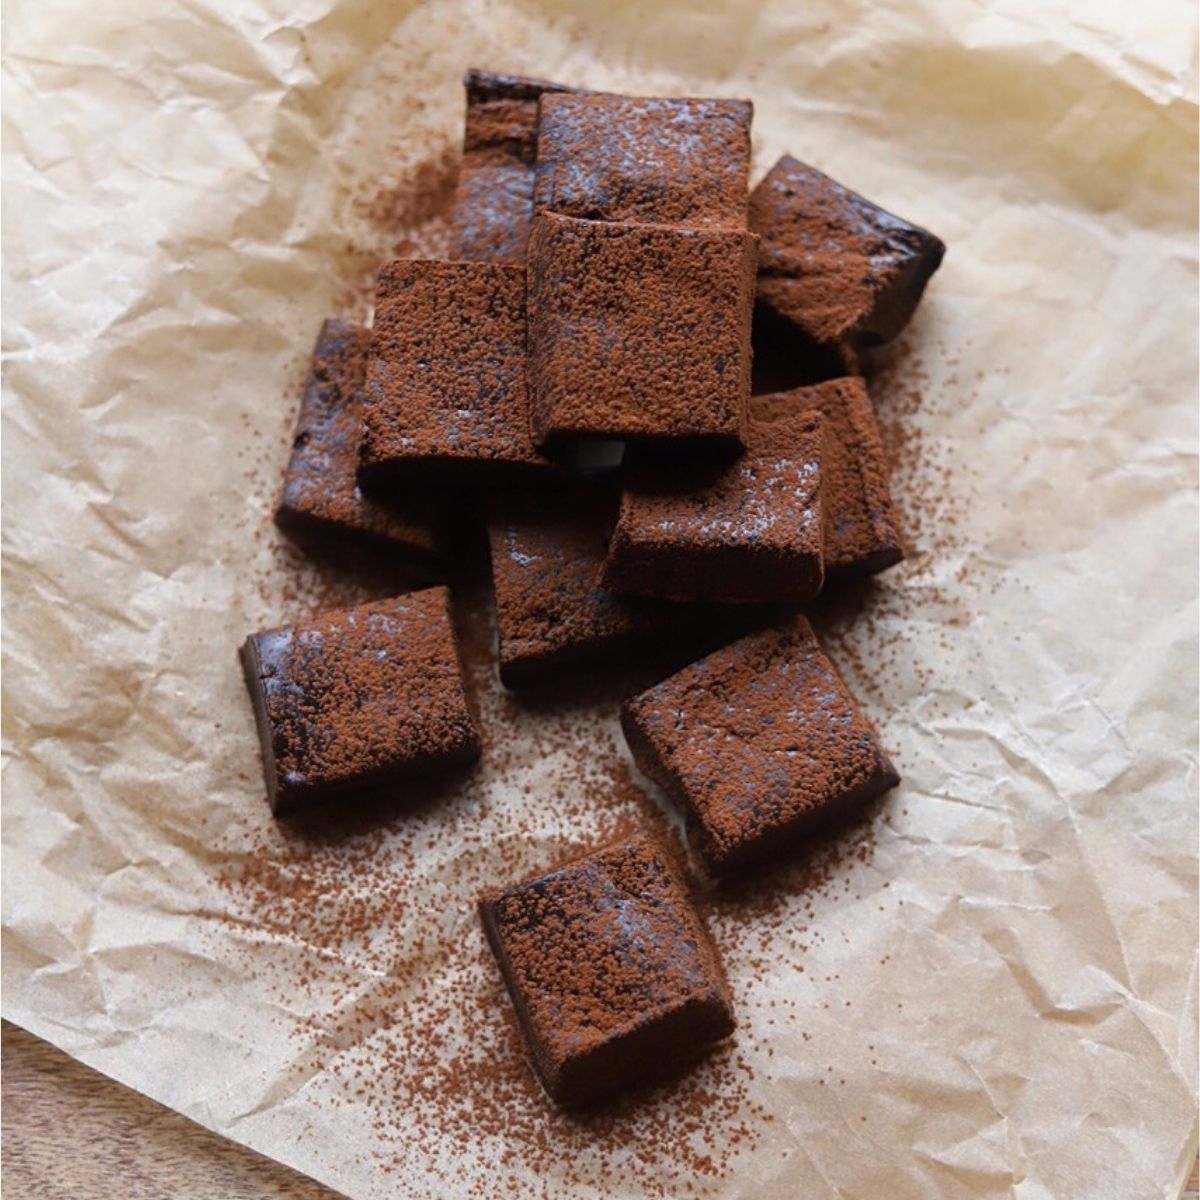
This classic chocolate fudge is wonderfully rich, dense, crumbly and melts in the mouth. It is made using milk and sugar rather than condensed milk.
This variety of fudge is our favourite as we love the soft crumbliness compared with the smooth, creamier type made with condensed milk, or very rich fudge made with cream.
For this recipe, the slow cooking process takes around 30-40 minutes during which time the sugar slowly caramelizes giving a wonderful rich flavour.
Chocolate fudge makes a wonderful and thoughtful gift for special occasions such as birthdays, Christmas, Mother’s or Father’s Day.
Follow these tips and easy to follow instructions for perfect fudge every time.
Note: This recipe requires monitoring the level of heat to prevent the sugar from crystallizing. No cooking thermometer? You may like our other easier fudge recipe.
Jump to:
Ingredients
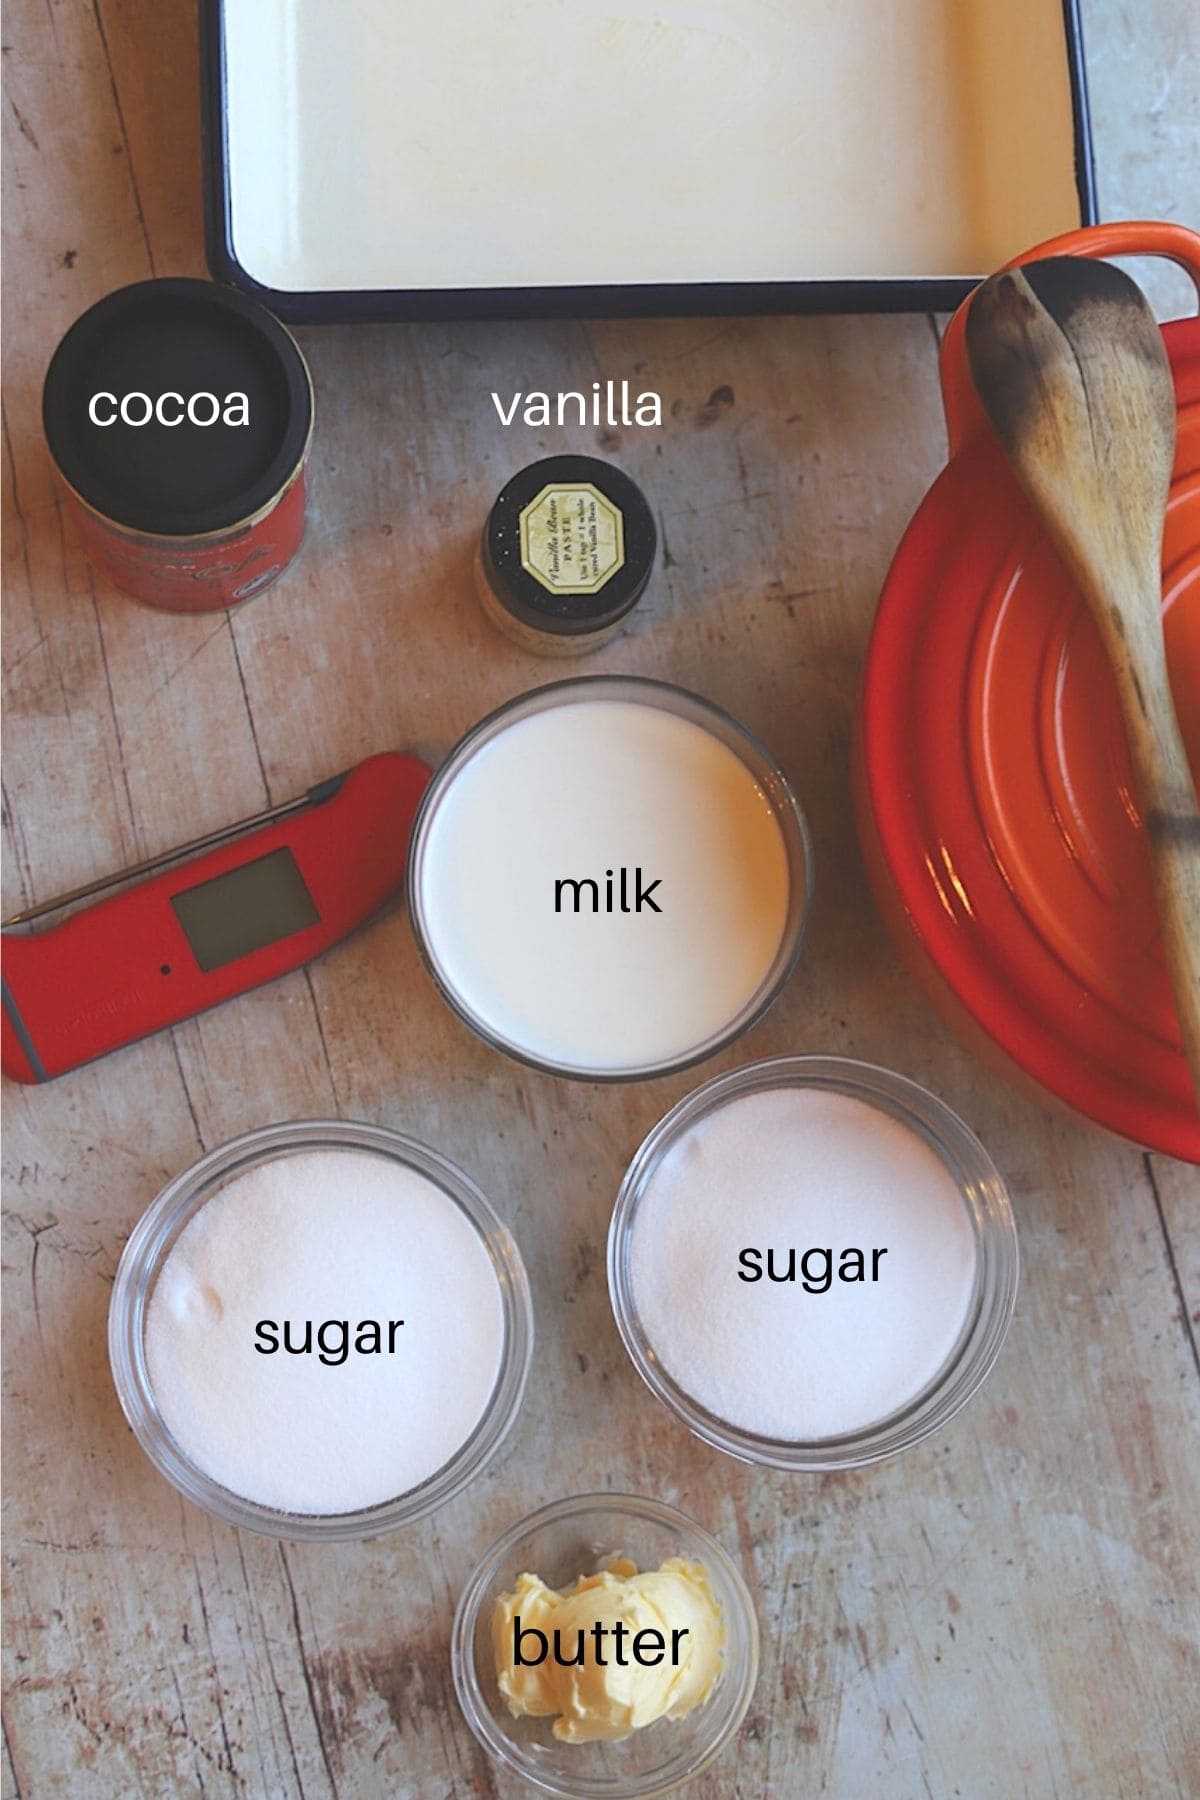
You will need just 5 ingredients:
- milk
- sugar
- butter
- vanilla
- cocoa
Tips for great fudge
- Grease a 20 cm/8 inch pan with oil or butter and line with parchment paper. This is to help the paper stick to the sides of the pan.
- Use a heavy bottomed medium saucepan for even heat distribution, and a wooden spoon for stirring.
- Combine the cocoa powder, sugar and milk in the pan before turning on heat to medium.
- Bring to a boil while stirring the mixture.
- Once it starts to boil, DO NOT stir again. Turn the heat down to the lowest setting and allow to simmer (uncovered).
- Use a cooking thermometer to measure the heat in the center of the mixture. My favourite thermometer is the Thermapen (affiliate link) as it is ergonomic, fast and accurate.
- If you do not have a cooking thermometer, you could use the soft ball method (see details below), but a thermometer is the most accurate way to tell when the fudge is done.
- As soon as the mixture reaches 114℃/238℉, remove the fudge from the heat. It normally takes 30-35 minutes to reach this temperature, although different factors might affect it such as type of pan, the heat, weather and altitude.
- Leave the mixture to cool to 46℃/115℉, then add the butter and vanilla. Using a wooden spoon, stir quickly. At this temperature the fudge is no longer hot, just warm and the crystals formed around the edges will have hardened so they will not affect the texture of the fudge.
- Stirring quickly prevents sugar crystals from reforming and making it grainy. A longer beating gives a chewy fudge, and shorter beating it will be more crumbly.
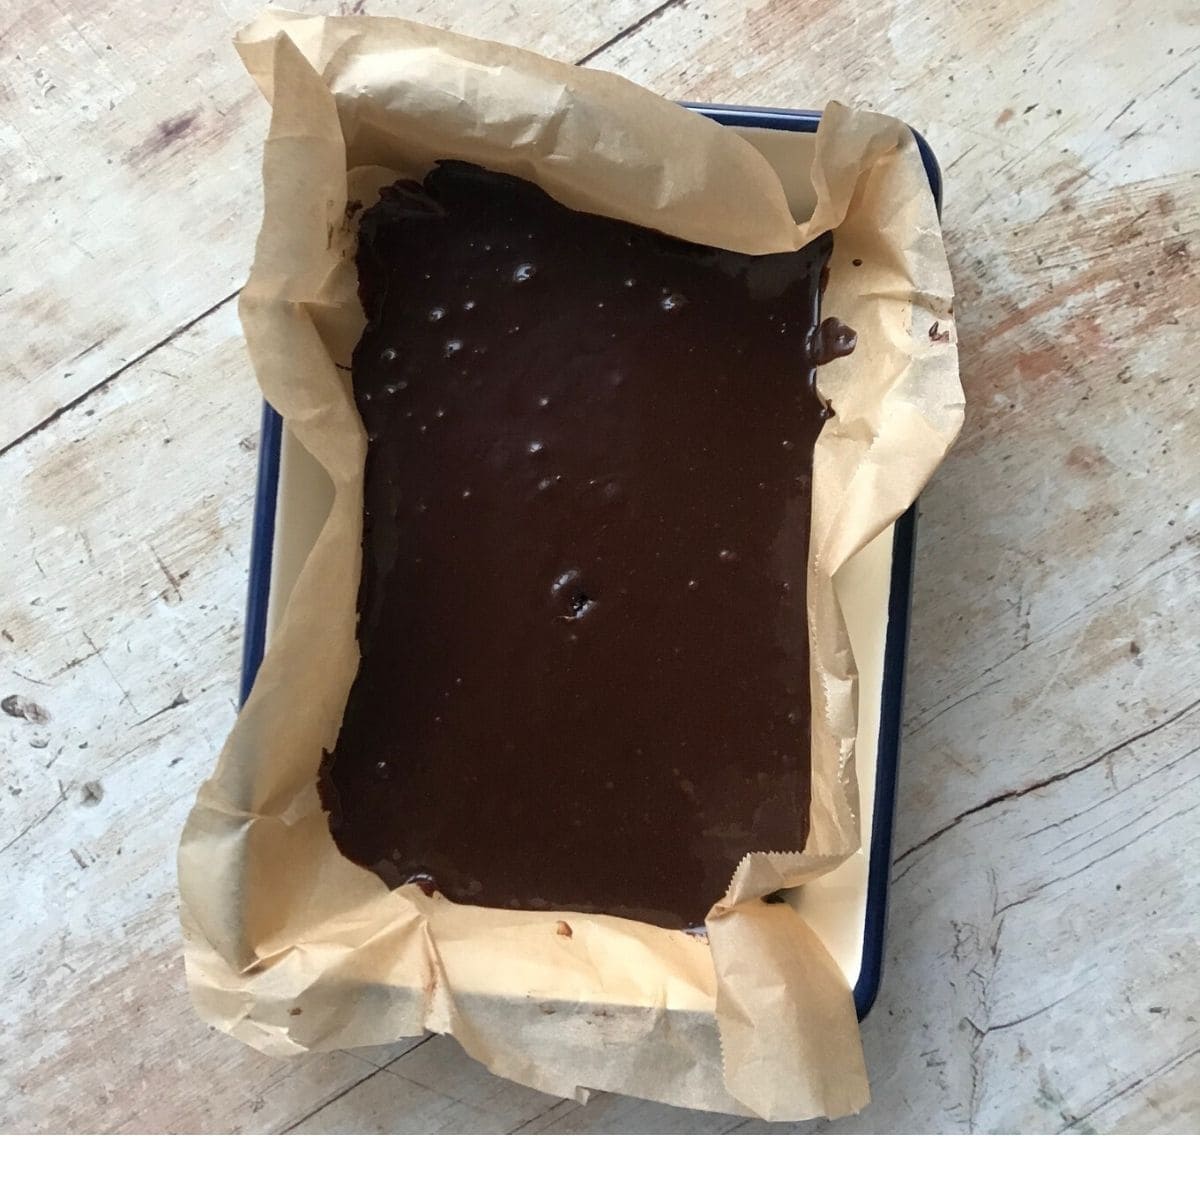
- Pour into the greased tray, cover with plastic wrap and chill in the fridge for 30 minutes.
- Remove from the fridge and cut the fudge into squares or rectangles. Then peel the fudge away from the parchment paper and serve.
Cooking thermometer
A cooking thermometer is the most efficient way of gauging when to turn off the heat.
For accurate results when using a cooking thermometer:
- Take care not to touch the bottom of the pan with the thermometer as this will give an inaccurate reading.
- Rinse and wipe dry the end of the thermometer after every use.
Soft ball method
This method is sometimes used without access to an accurate cooking thermometer. Drop a small amount of the mixture into a glass of cold water and if it forms a soft ball and flattens between your fingers, it is done.
However, this method is not as accurate as using a cooking thermometer, giving rise to problems with the fudge such as not setting, being too hard or too grainy.
Also, repeated attempts to gauge when the mixture is hot enough might end up wasting a fair bit of mixture.
Variations
Here are some ideas to add extra texture or colours.
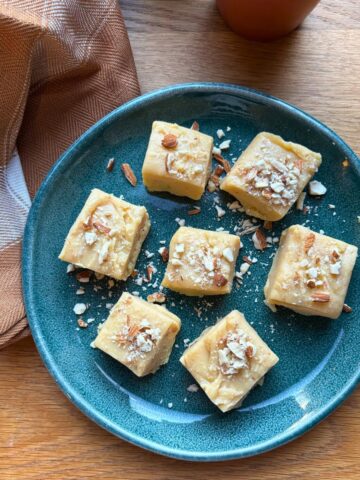
nuts – stir in roasted nuts before pouring into the dish to set.
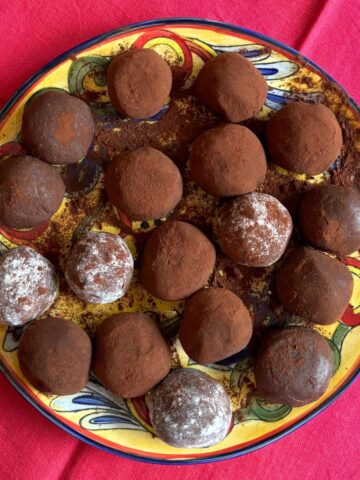
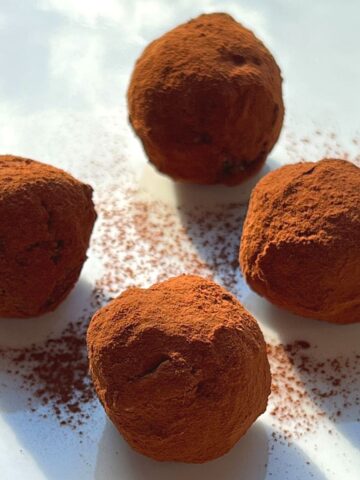
decoration – dust with powdered sugar or chocolate powder and add sprinkles before chilling.
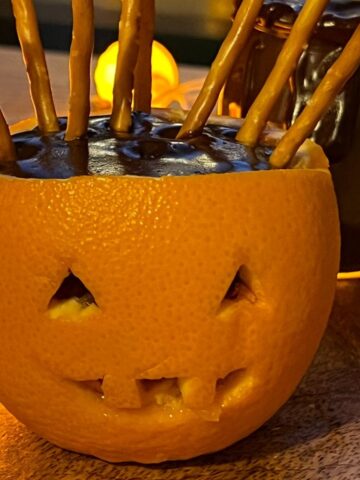
You could add specific colours for different holidays e.g. green for St Patrick’s Day, yellow and green for Easter, orange and black for Halloween, green and red for Christmas, etc.
Your questions answered
As long as correct measurements of ingredients were used, this means that the mixture probably did not become hot enough. It needs to simmer till it reaches 114℃/238℉ or it will not set. Pour the fudge back into the pan and heat to the correct temperature.
It normally takes 30-40 minutes to reach the correct temperature of 114℃/238℉, although different factors might affect it such as the type of pan used, the heat, weather and altitude.
Return the fudge to the pan, add a little milk and melt it bringing it to a boil again then on low heat simmer to 114℃/238℉ and remove from heat.
Storing leftovers
Fudge may dry out if stored in the fridge after a few days. As long as your kitchen is not too hot, it is best to keep in a sealed container at room temperature and it will remain fresh for up to two weeks.
This chocolate fudge can be frozen for up to a month. To freeze as a block, wrap it well to prevent it from losing moisture and drying out.
If you require smaller quantities at a time, cut into small pieces and wrap individually or arrange in layers in a container with sheets of parchment paper in between.
Are you making this Easy Chocolate Fudge recipe? I’d love to know how it turned out in the comments! And if you like it, please give it a 5 star rating below!
Instagram - I love seeing your creations, so post a picture, tag @endofthefork and hashtag #endofthefork
You may also like …

Recipe

Chocolate Fudge Without Condensed Milk
Ingredients
- sugar - 2 cups 400 grams
- milk - 1 cup 250 milliliters
- cocoa powder - ½ cup 50 grams
- butter - 4 tablespoons 56 grams
- vanilla ½ teaspoon
Instructions
- Grease an 20 cm/8-inch square dish with oil or butter, line with parchment paper and set aside.
- 400 grams sugar, 250 milliliters milk, 50 grams cocoa powderCombine milk, sugar and cocoa in a heavy bottomed, medium sized saucepan and bring to a boil while stirring. Once it starts to boil, reduce to simmer on lowest heat and do not stir again.
- Measure the temperature of the mixture using a cooking thermometer and as soon as it reaches 114°C/238°F, remove from the heat and leave to cool to 46°C/115°F.
- 56 grams butter, ½ teaspoon vanillaAdd butter and vanilla to the mixture and beat till fully incorporated and the fudge has thickened but is still pourable.
- Pour into the lined dish and cool in the fridge before slicing and serving.
Notes
- Grease a 20 cm/8 inch pan with oil or butter, and line with parchment paper.
- Use a heavy bottomed medium saucepan for even heat distribution, and a wooden spoon for stirring.
- Combine the cocoa powder, sugar and milk in the pan before turning on heat to medium.
- Bring to a boil while stirring the mixture.
- Once it starts to boil, DO NOT stir again. Turn the heat down to the lowest setting and allow to simmer (uncovered).
- Use a cooking thermometer to measure the heat in the middle of the mixture. My favourite thermometer is the Thermapen (affiliate link) as it is ergonomic, fast and accurate.
- If you do not have a cooking thermometer, you could use the soft ball method – drop a tiny amount of fudge into a glass of water and if it rolls into a ball, it has finished cooking.
- When the mixture reaches 114℃/238℉, turn off the heat. It normally takes 30-35 minutes to reach this temperature, although different factors might affect it such as type of pan, the heat and altitude.
- Leave the mixture to cool to 46℃/115℉, then add the butter and vanilla and using a wooden spoon, stir quickly. At this temperature the fudge will be warm and the crystals formed around the edges will have hardened.
- The stirring process prevents sugar crystals from reforming and becoming grainy. A longer beating gives a chewy fudge, while a shorter beating it will be more crumbly.
- Pour into the greased tray, cover with plastic wrap and chill in the fridge for 20 minutes.
- Remove from the fridge and cut the fudge into squares or rectangles. Peel the fudge away from the parchment paper and serve.
- Storing: Fudge may dry out if stored in the fridge after a few days. As long as your kitchen is not too hot, it is best to keep in an sealed container at room temperature and it will remain fresh for up to two weeks.
- This chocolate fudge can be frozen for up to a month. To freeze as a block, wrap it well to prevent it from losing moisture and drying out. If you require smaller quantities at a time, cut into small pieces and wrap individually or arrange in layers in a container with sheets of parchment paper in between.
Only you will see your notes and you can edit them anytime.
Nutrition
Nutritional information is calculated automatically per serving and accuracy cannot be guaranteed.
Content and photographs @ endofthefork.com are copyright protected. Sharing of this recipe is encouraged and appreciated, however copying and pasting full recipes to social media or other platforms is strictly prohibited.
Ben says
This fudge recipe turned out perfectly. After years of making grainy fudge with countless other recipes, thanks to this one I finally managed to make fudge that’s smooth and delicious.
Cameron says
Made it exactly how the recipe and instructions said, the “fudge” did not set and is just a liquid. Disappointed in this recipe, had high hopes but for me it did not work.
Nicole Shroff says
I’m sorry to hear this, did you use a cooking thermometer to heat the mixture to 114°C or 238°F? A thermometer (rather than the soft ball method) is the more accurate way of ascertaining the correct temperature has been achieved and the mixture has thickened. If it fails to reach the correct temperature you are left with a yummy chocolate sauce. I do hope you try it again as it does make a very delicious fudge.