
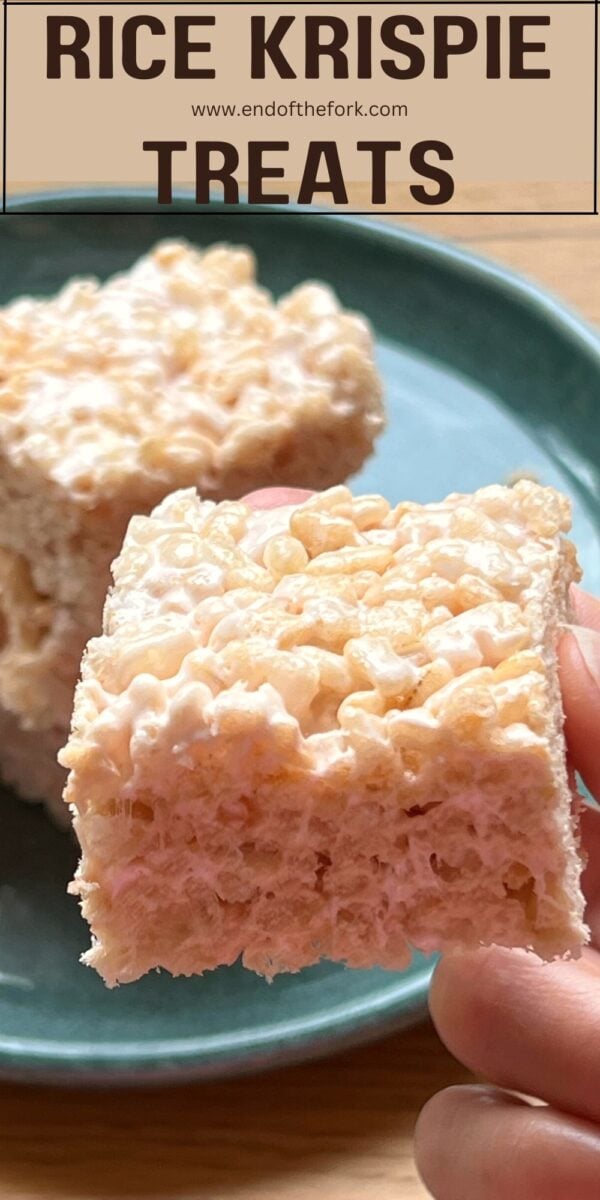
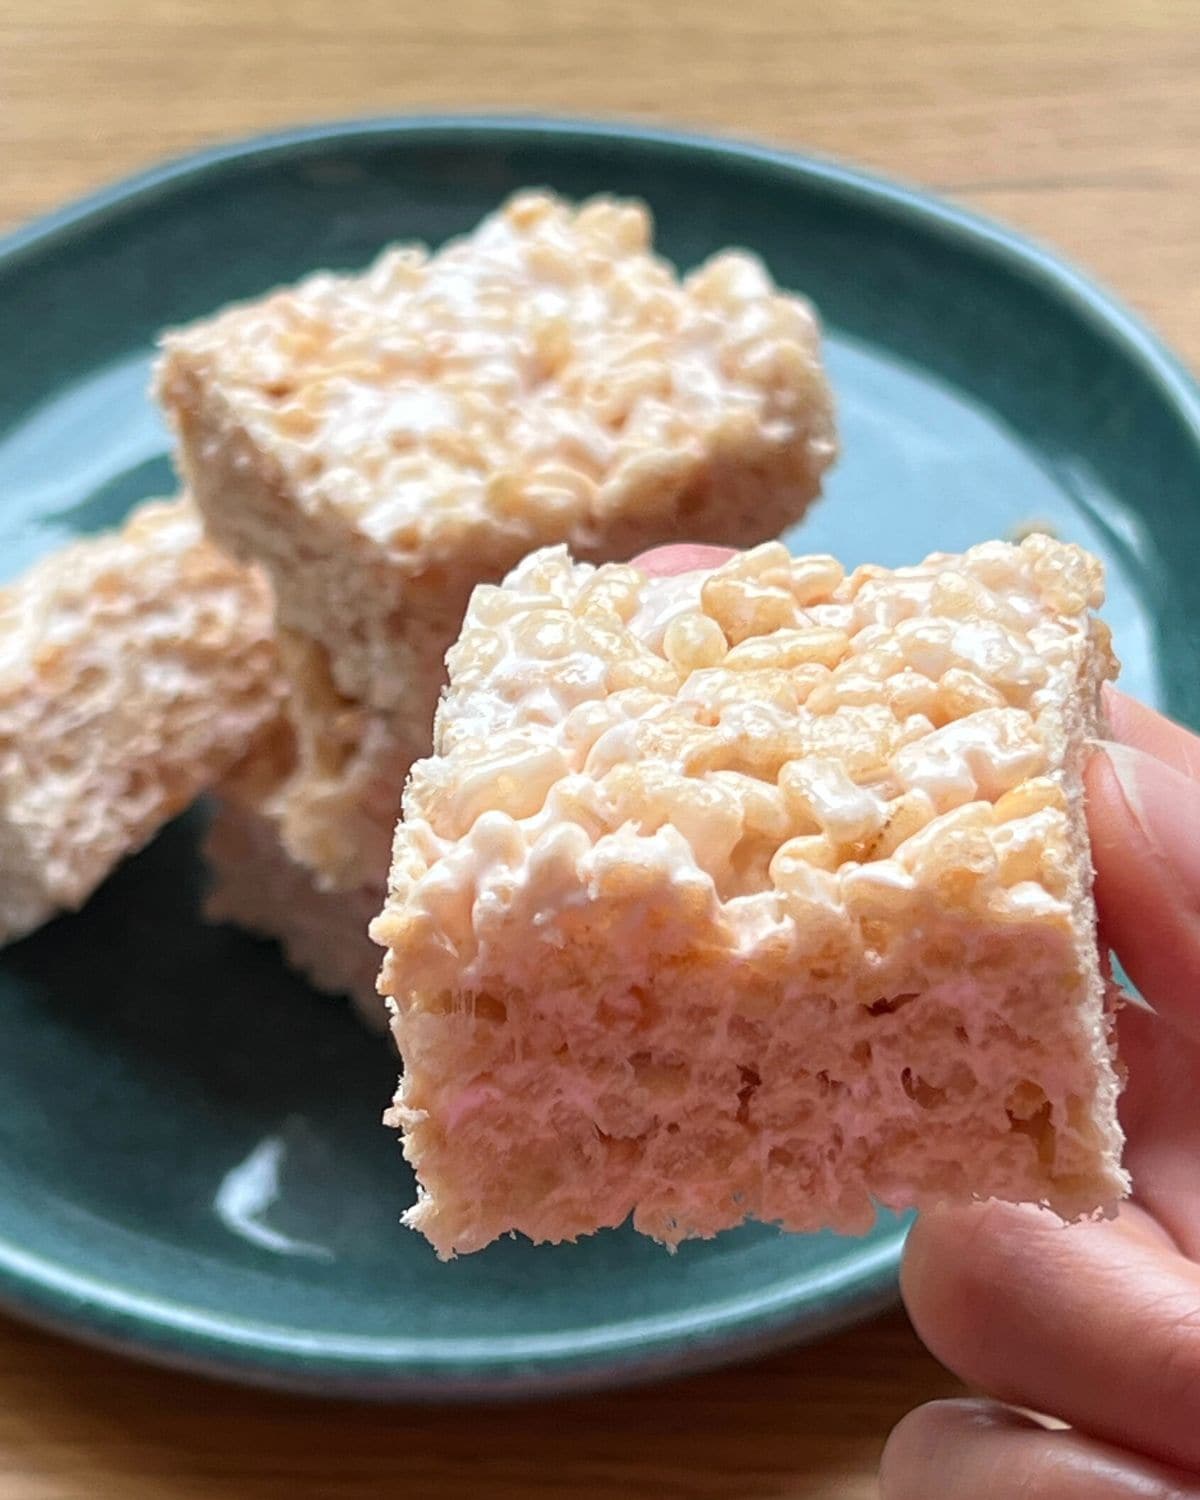
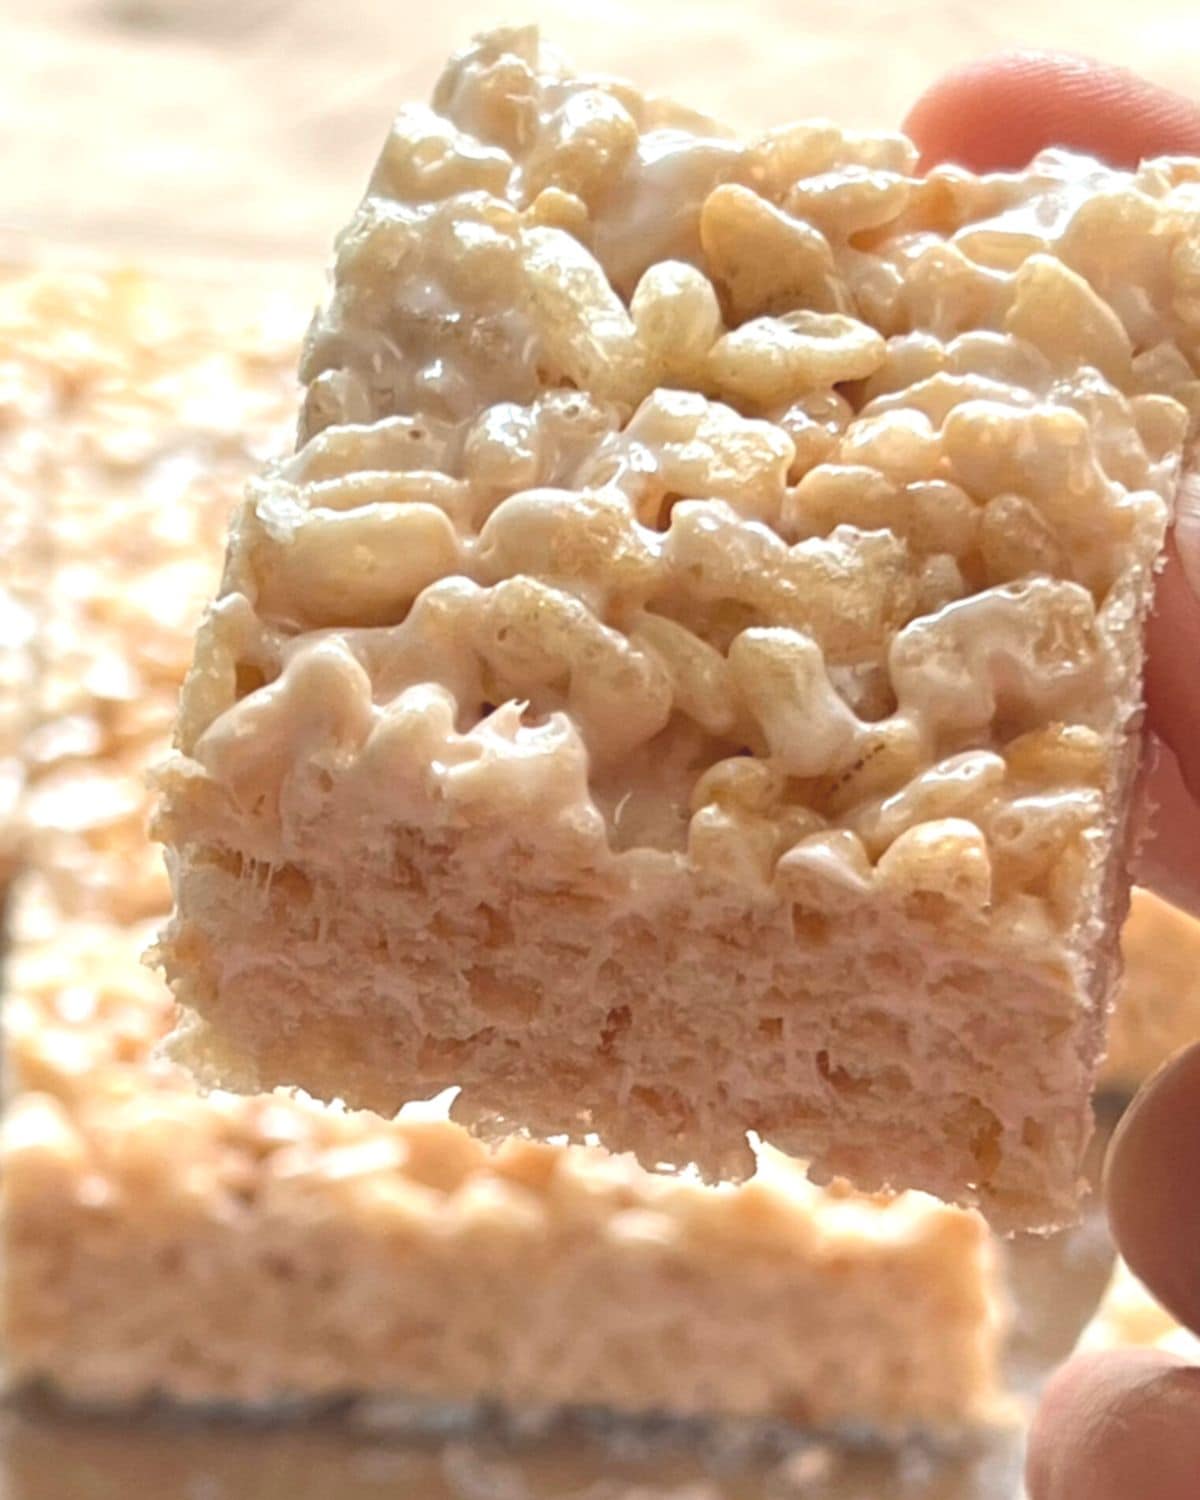
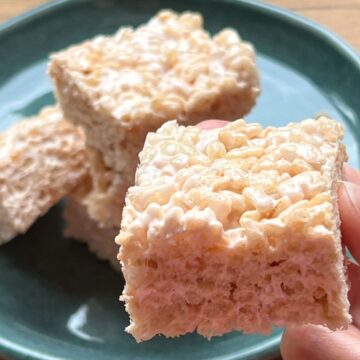
These rice krispies treats are soft, light and chewy with the perfect balance of melted marshmallows to crispy cereal crunch.
We love an easy four ingredient dessert especially one that takes just 10 minutes to make!
Rice krispies treats not only make a perfect anytime sweet snack, they go down really well at family get-togethers, birthday parties and holidays.
You can even tweak the recipe for different tastes and diets using our recommendations for substitutions below.
With delicious vanilla flavour and great marshmallow to rice krispies ratio, for that all important soft chewy-ness, these little treats are truly addicting!
This recipe also happens to be the base we use for our Halloween rice krispie treats.
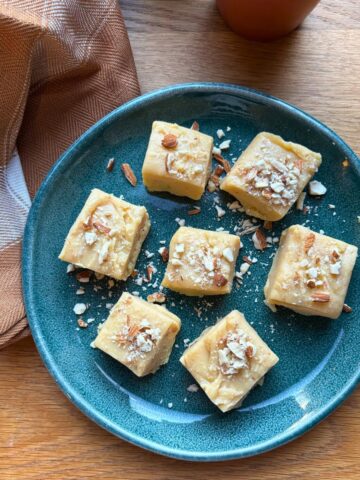
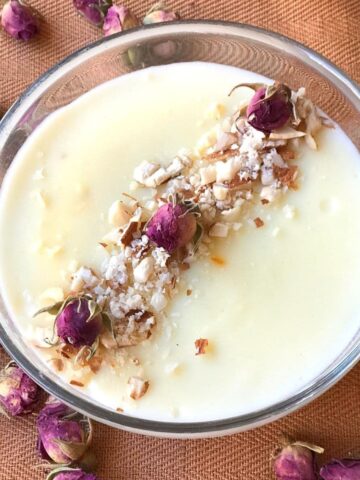
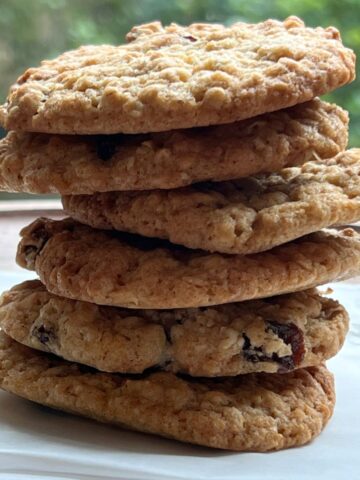
For more quick sweet treats you may also like our honey roasted pecans, healthy bliss balls, these super cute mini heart cakes and Greek yogurt dip for fruit.
Click on the Subscribe button above to get more recipes like this to your inbox.
Ingredients
These are the ingredients you will need.
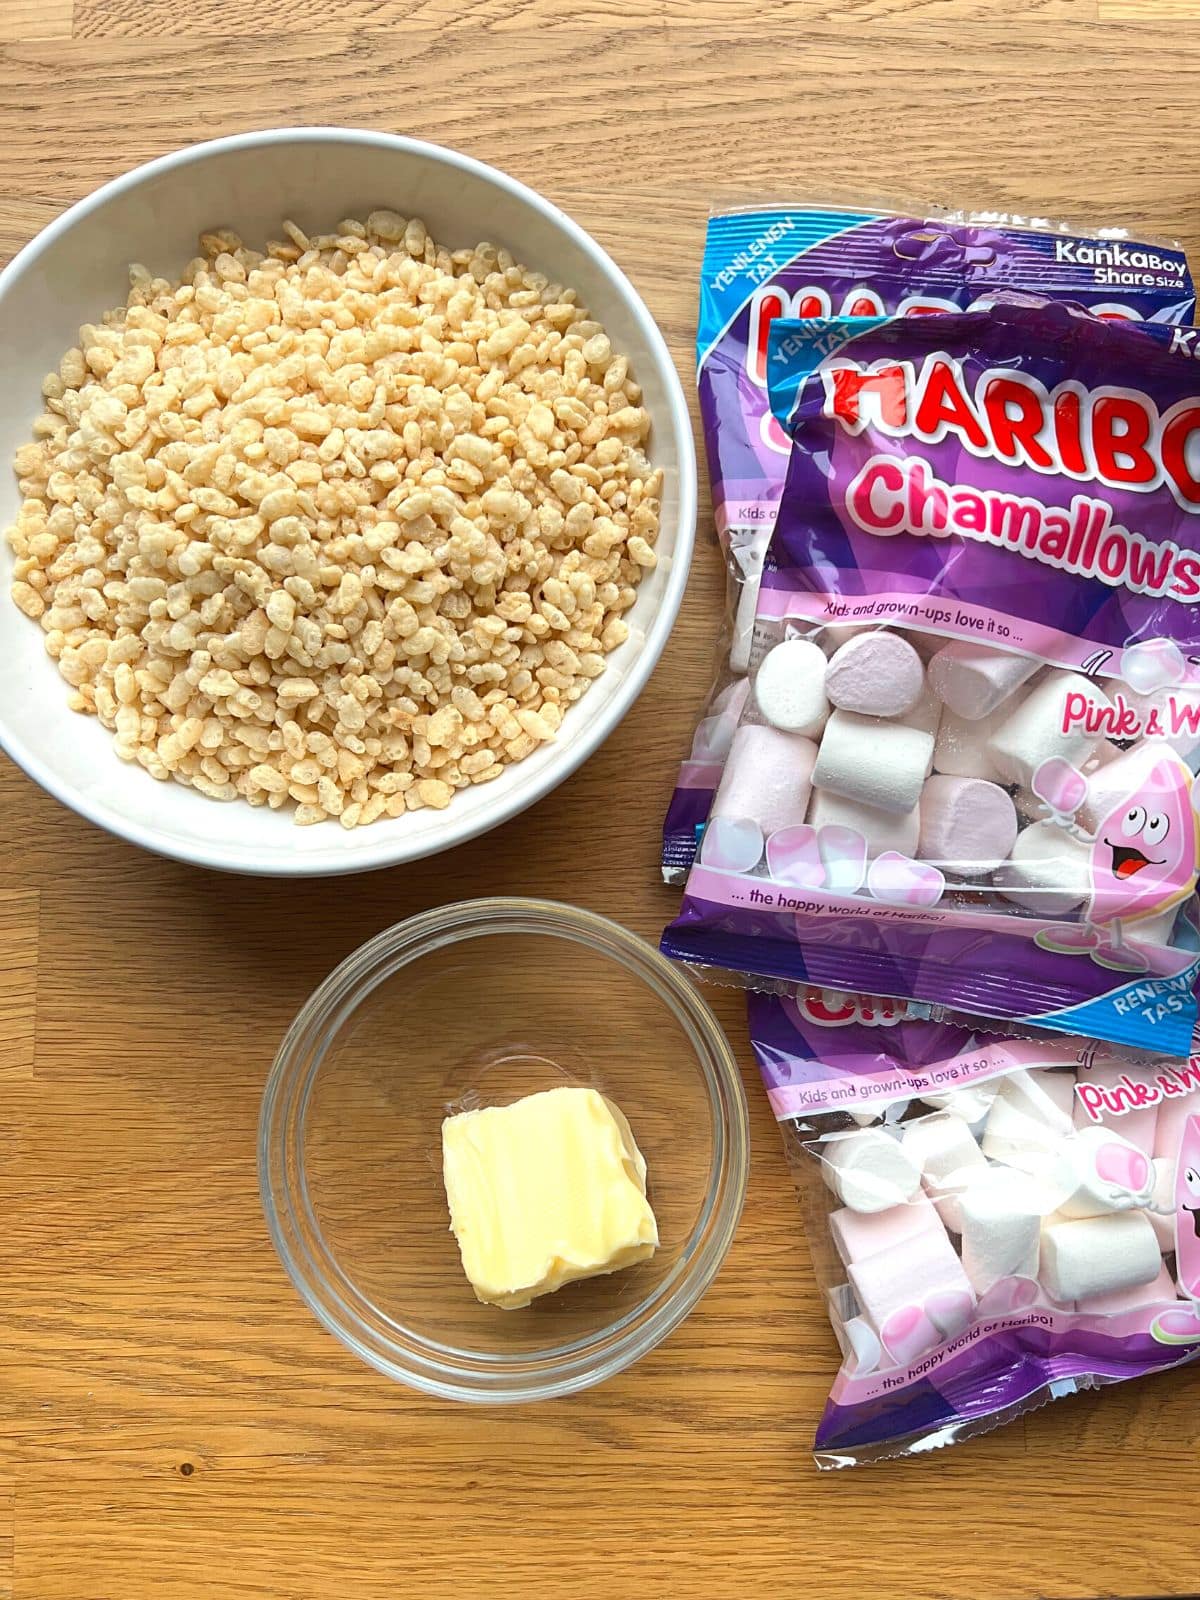
This recipe only requires 4 ingredients:
- rice krispies
- butter – either salted or unsalted but salted will bring out the flavours more.
- vanilla
- marshmallows – smaller marshmallows melt more quickly than large, although large (the same quantity) will work too. Use fresh soft marshmallows for best results. Avoid old stock which are dry and stuck together as they won’t melt very well. For gluten free see substitutions below.
See recipe card for quantities.
Step by step instructions
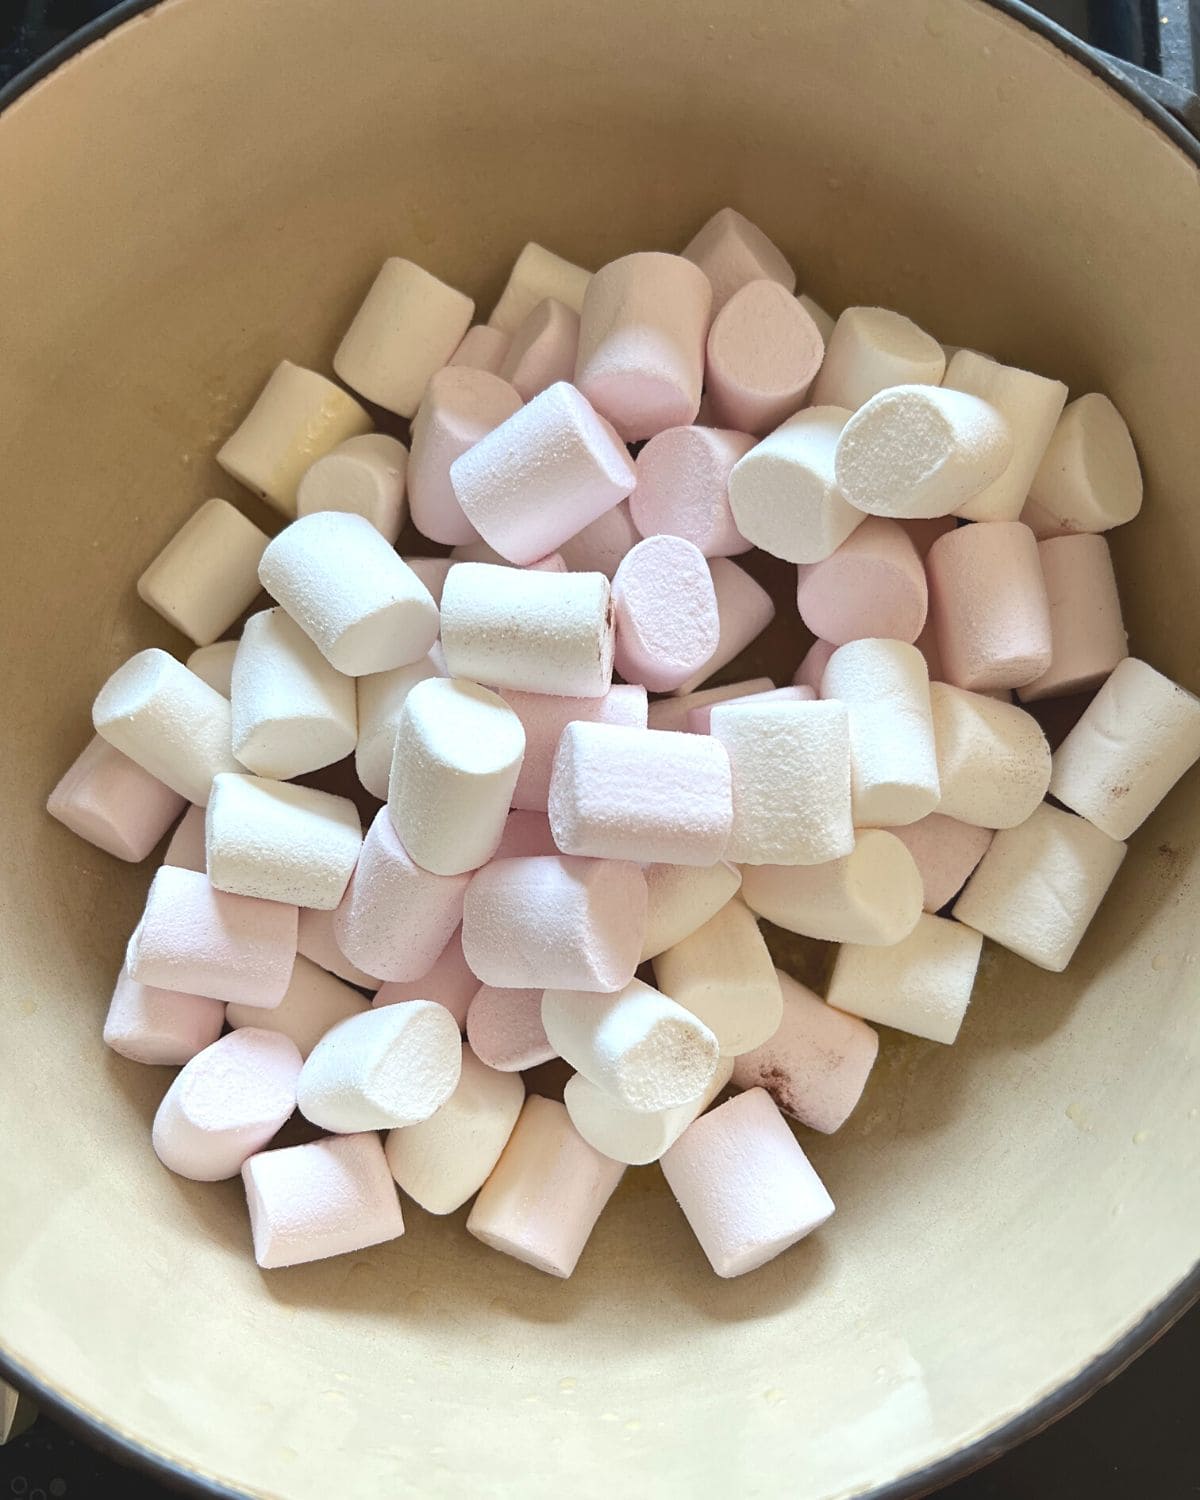
- In a medium saucepan, melt butter then add marshmallows
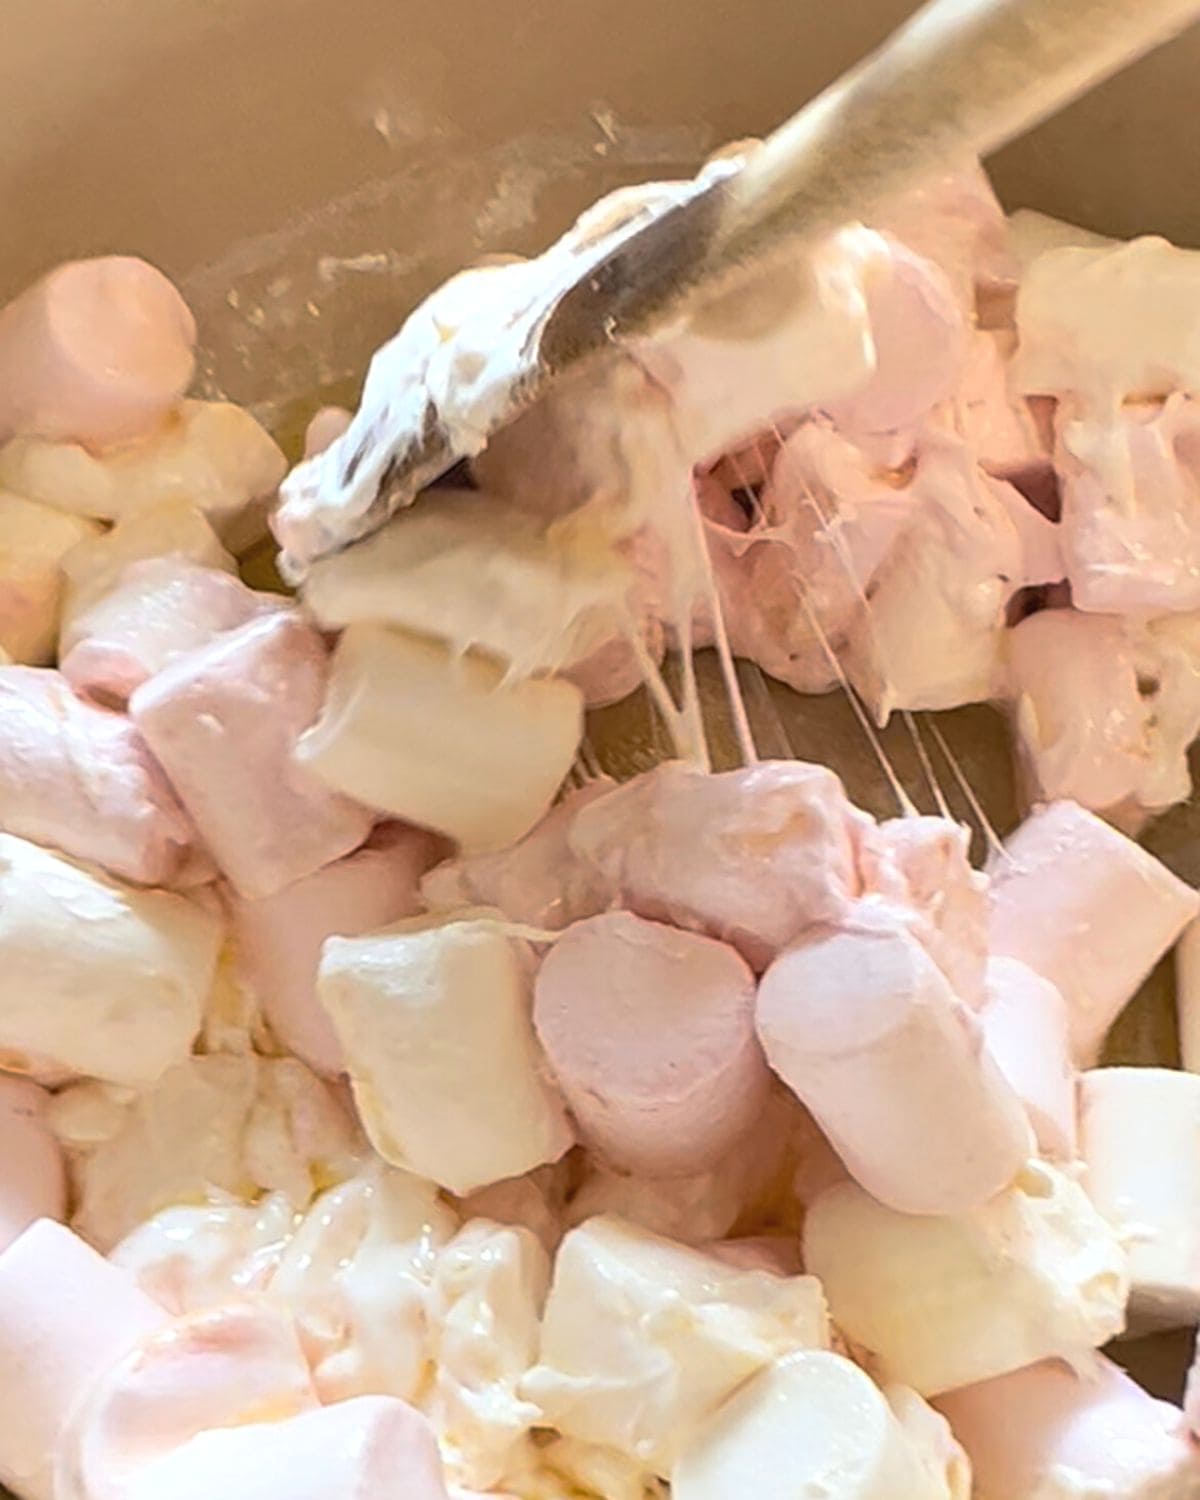
2. Stir the marshmallows till almost melted, then remove from the heat, add the vanilla and continue stirring till the mixture is melted and smooth.
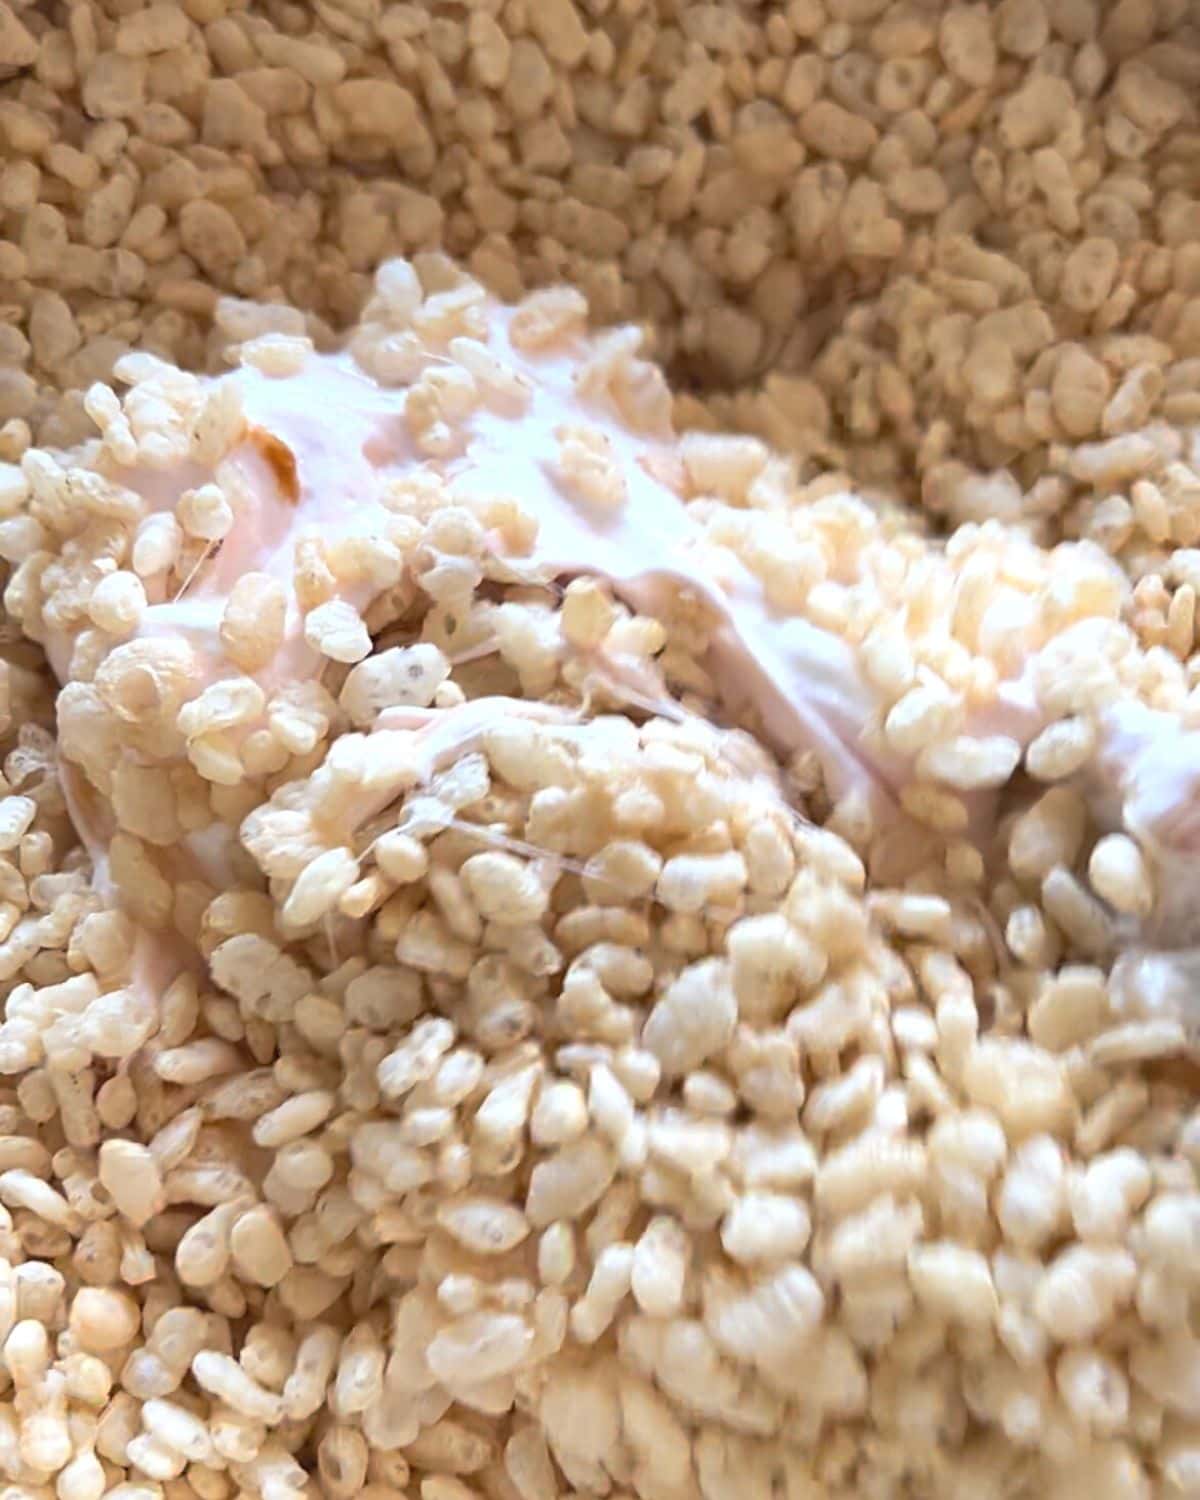
3. Gently fold the rice krispies into the melted marshmallow mix.
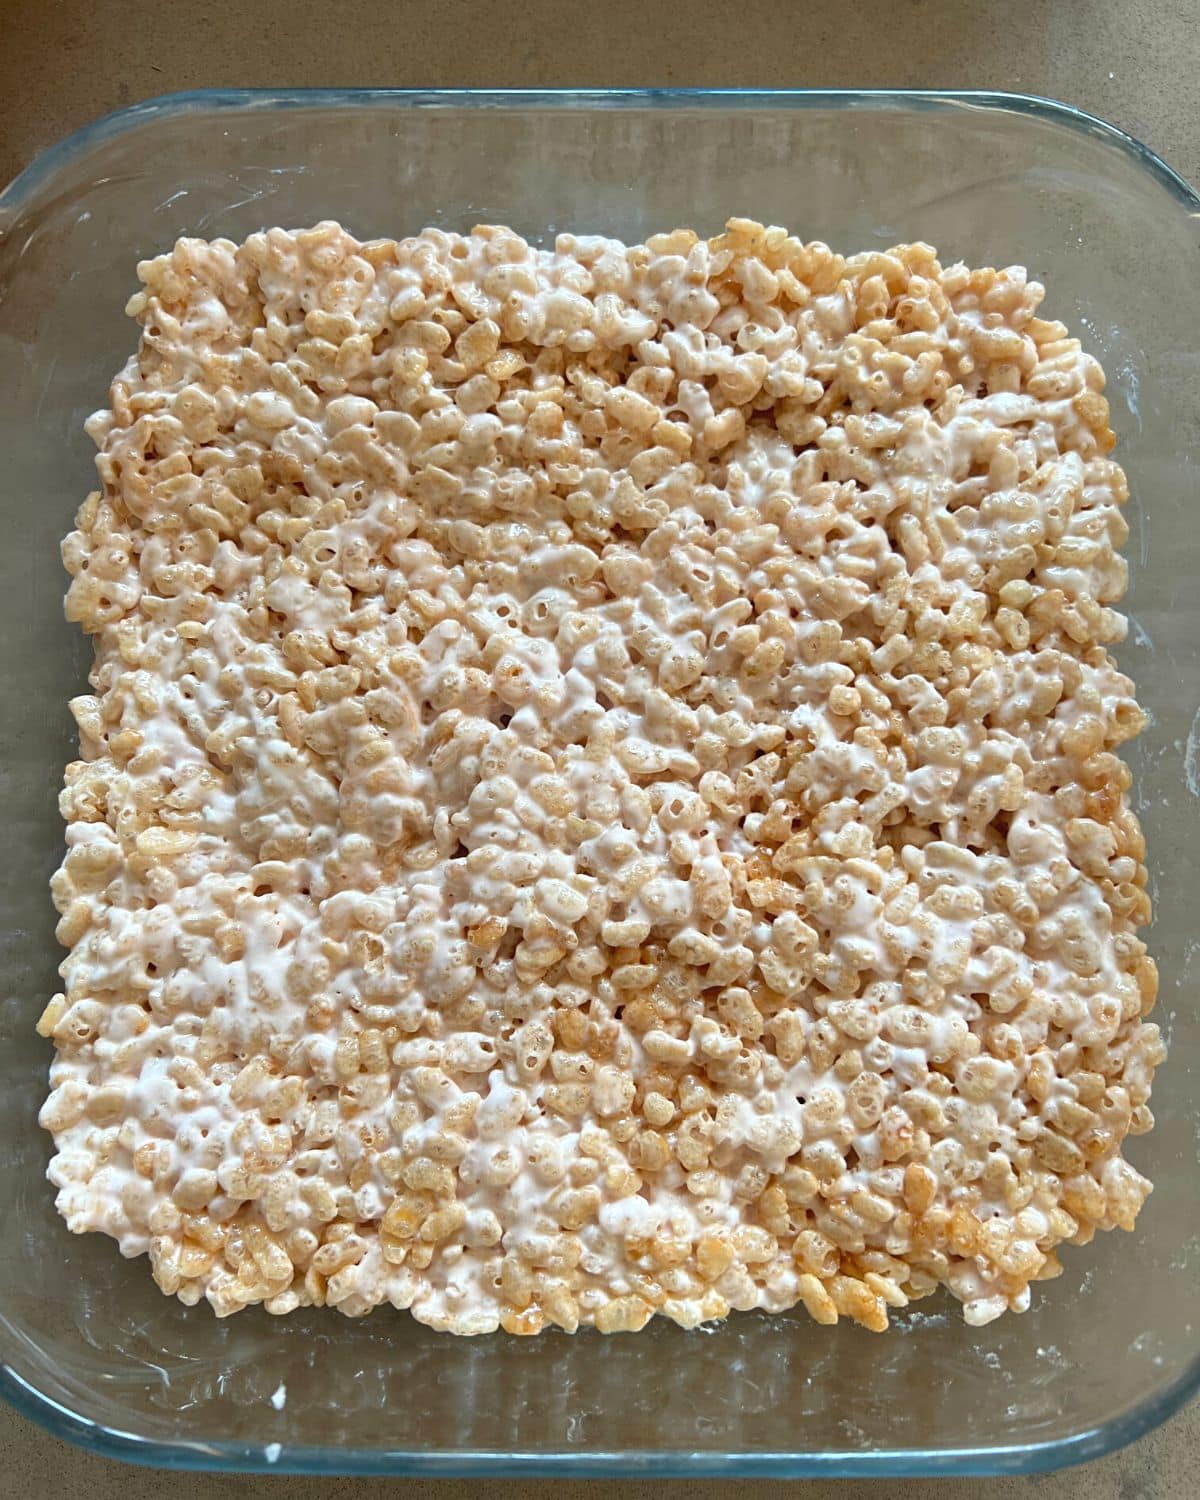
4. Spoon into a greased dish and dampen hands to gently press into an even layer. Leave to cool before cutting into large squares.
Tip: For thinner rice krispies treats, use a larger 23×33 cm/9×13 inch dish.
Substitutions
These are a few suggestions for substitutions in case you are short on ingredients, or to suit different tastes and diets:
Rice crispy treats without marshmallows – substitute with peanut butter, almond butter and honey, fluff, softened fudge, nutella, bananas with maple syrup.
You won’t need butter if using any of these alternatives, but it will give a richer flavour if included. Adjust the quantities to achieve desired flavour and texture.
No rice krispies? – other cereals such as cornflakes will work.
For gluten free rice krispies treats:
- Nestle’s Rice Krispies are gluten free
- jet-puffed marshmallows or Haribo Chamallows
Storing
They will keep in a closed container for up to two days.
You can freeze rice krispies treats. Arrange in layers separated by wax paper in a closed container and freeze for up to 1 month. Thaw at room temperature before serving.
You may also like …

Did you make this? Please rate it in the recipe card below and if you are sharing a photo on social media please tag @endofthefork. Thanks!
Recipe
Rice Krispie Treats
Ingredients
- butter - ⅓ cup or 5½ tablespoons, cut into small cubes 80 grams
- rice krispies - 5 cups 125 grams
- marshmallows - 10 ounces 300 grams
- vanilla - optional – for extra vanilla flavour ¾ teaspoon
Instructions
- Grease a 9×9 inch (23×23 cms) dish and set aside.
- In a medium saucepan melt 80 grams butter on medium low heat.
- Stir in 300 grams marshmallows till almost melted, then remove from the heat, add ¾ teaspoon vanilla (if using) and continue stirring till the mixture is melted and smooth.
- Fold in 125 grams rice krispies and mix fully coated.
- Pour mixture into greased dish and evenly distribute by patting down gently with damp hands (to prevent sticking). Leave in the dish to cool before turning out and slicing. Serve at room temperature.
Notes
Only you will see your notes and you can edit them anytime.
Nutrition
Nutritional information is calculated automatically per serving and accuracy cannot be guaranteed.
Content and photographs @ endofthefork.com are copyright protected. Sharing of this recipe is encouraged and appreciated, however copying and pasting full recipes to social media or other platforms is strictly prohibited.

Taylor says
The butter measurements can’t be right?
Nicole Shroff says
Oh gosh, yes one zero too many! Thanks so much for pointing that out Taylor, I’ve fixed it now.