

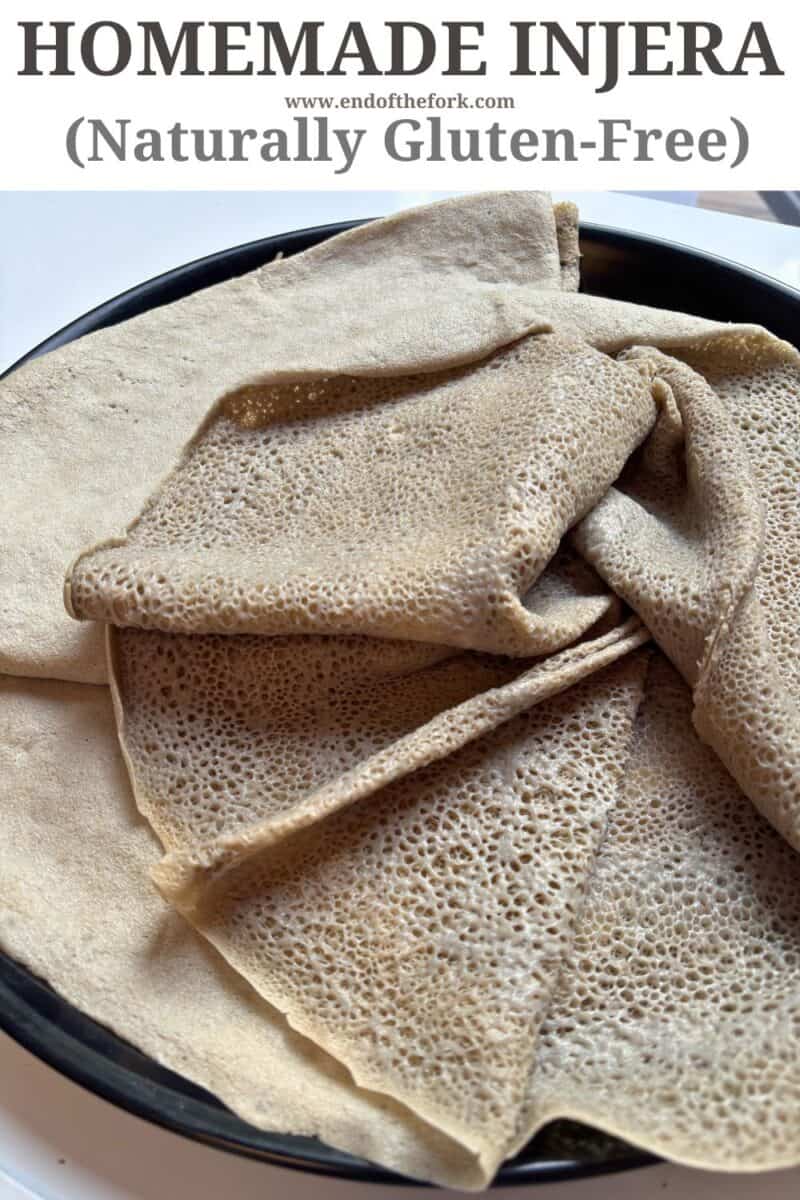
Injera is a soft, sour Ethiopian and Eritrean flatbread made from fermented teff flour. This is how to make it authentically at home.
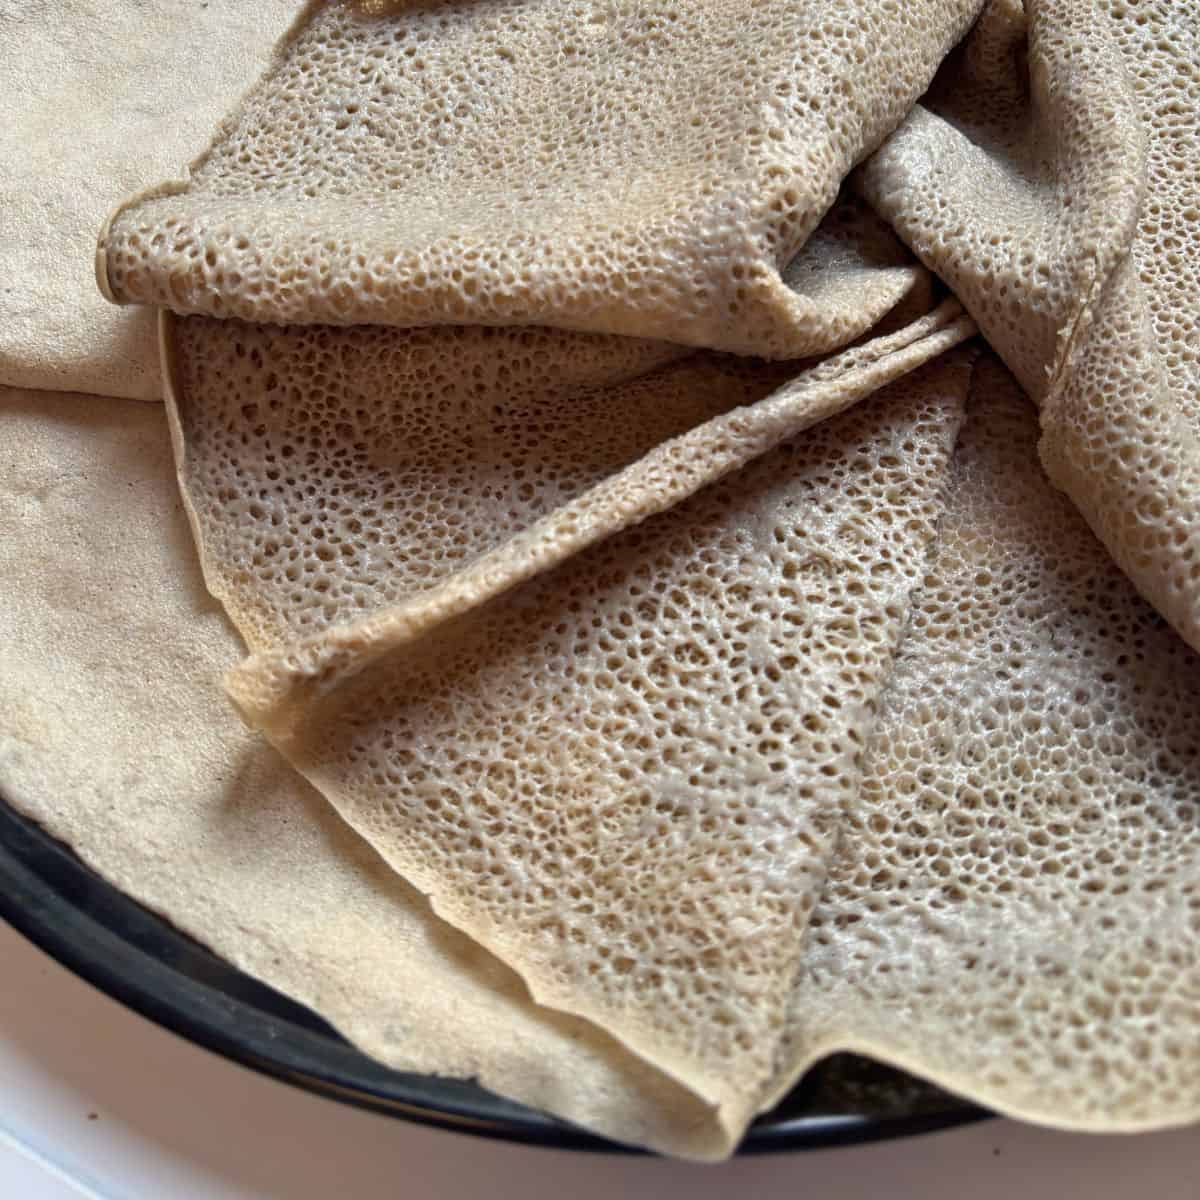
Injera is the soft, sour, spongy flatbread at the heart of Ethiopian and Eritrean cooking. It is also the plate, utensil and the staple all in one. A large injera flatbread lines a sharing platter while stews and salads are spooned over the top. Everyone tears off pieces of injera to scoop up the food.
It is made from only teff flour and water which is left to ferment for a few days. It is naturally gluten-free and one of the world's oldest grain fermentations.
Some of you might be a little wary of trying this recipe thinking it might be difficult, but it is a simple 2 ingredient recipe (plus salt, ok 3 ingredients) and the difficulty is really in patiently waiting for the fermentation rather than needing much skill. The fermentation does almost all the work. Once the batter is fermented, and the batter thickened, the cooking itself takes only 2-3 minutes.
Jump to:
What is injera?
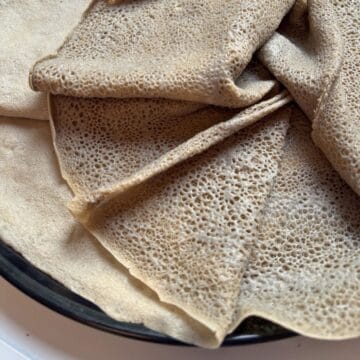
Injera is a large, thin, pancake-like flatbread made from teff flour, with a distinctive texture. It is smooth on one side, with tiny holes that form on the other side as it cooks. The holes remain once the flatbread is cooked and act as a sponge to soak up the sauces of dishes like zigni, doro wat and misir wat.
It has a pleasant sourness similar to sourdough, which comes from wild fermentation over 3-4 days. The longer it ferments, the tangier it becomes.
Why teff?
Teff is a tiny ancient grain first cultivated thousands of years ago in the highlands of Ethiopia and Eritrea, where injera has been a staple for thousands of years. It is now also grown in India, Australia and the United States, partly to meet rising demand for gluten-free grains. Despite its size it is remarkably nutritious being high in iron, protein and fibre, plus it is naturally gluten-free.
That makes 100% teff injera a true gluten-free bread rather than an adaptation, which is part of why it has become more popular in recent years.
A note of caution: teff can be milled in facilities that also handle wheat so if you are cooking for someone with coeliac disease, check the packet for a certified gluten-free label.
Ivory and brown teff will both work here, the difference being brown teff has a deeper, earthier flavour, while ivory teff is milder and gives a paler bread.
Ingredients
You will need only two ingredients, plus a little salt:
- Teff flour - the traditional and only essential grain. It is available from Ethiopian and Eritrean grocers, health food shops and online.
- Water - filtered or spring water is best. The chlorine in tap water can slow or stop the fermentation so if you only have tap water, leave it uncovered overnight first to let the chlorine evaporate away.
- Salt - this is added right at the end.
A note for beginners
Using 100% teff flour is the authentic approach, but it is also the trickiest to handle. This is because the batter is delicate and takes practice to cook it without making a mess.
If this is your first attempt, replace about a third of the teff with wheat or barley flour, this makes the batter much easier to handle and gives a softer, more restaurant like result. It won't be gluten-free, but it is a good place to start and master the technique.
Helpful tips
- Don't rush the ferment - in a cool kitchen it could take 5 days rather than 3. Once you see bubbles in the batter accompanied by a sour smell, it is ready.
- Cook on one side only - Injera is never flipped, the holes form as the top sets.
- Keep them soft - stacking the cooked breads and covering them with a cloth as they cool stops the edges from drying out.
- Make ahead - the fermented batter will keep in the fridge for a day or two, but cooked injera is best eaten the day it is made.
What to serve with injera
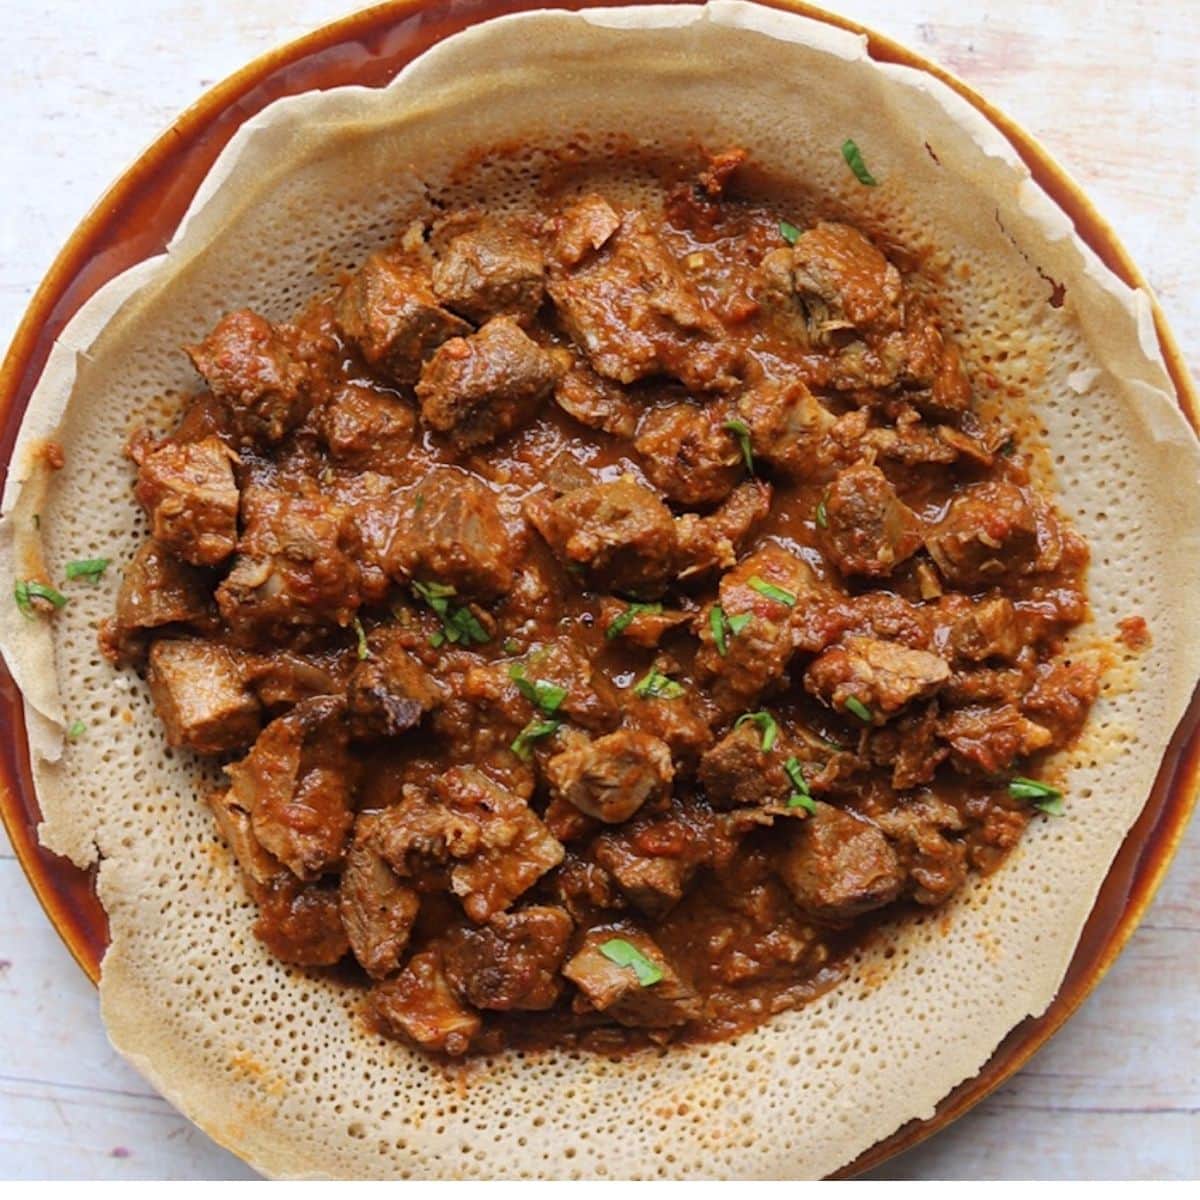
Injera is made for saucy spiced dishes that it can soak up. Serve it with zigni, the Eritrean berbere stew, or with lentil dishes like misir wat, sautéed greens (gomen) and a simple salad of tomato, onion and chilli.
Spread one large injera across a platter, arrange the curries on top and provide plenty of extra rolled injera on the side for scooping.
Storing injera
Injera is best eaten the day it is made while it's still soft, but it will keep for a short while if stored properly. It will need to be wrapped well to prevent it from drying out and hardening. Once hardened it cannot be re-softened. Avoid wrapping it in kitchen paper which will draw out moisture and make it dry.
Here are some tips to help extend the freshness of injera:
Room temperature: Let the injera cool completely then stack and wrap in a clean, slightly damp cloth or seal in an airtight container and use within a day. Don't wrap while still warm as trapped steam will make them soggy.
Fridge: Wrap cooled injera tightly in cling film or seal in an airtight bag and keep in the fridge for up to 2 days. Bring back to room temperature before serving because injera is never served hot.
Freezer: Stack them with a sheet of baking parchment between each round so they don't fuse together, then wrap the stack in cling film and seal in a freezer bag. Freeze for up to a month and thaw at room temperature. They will not taste as good as freshly made injera but they should be soft enough.
FAQs
Yes, injera is made with 100% teff flour which is naturally gluten-free. Check the packet for a certified gluten-free label if you are cooking for someone with coeliac disease as teff is sometimes milled alongside wheat. Many restaurant injera are made with a mix of teff and wheat flour, so they are not gluten-free.
The holes form during fermentation when gases are produced. If they don't appear, it is possible the batter has not fermented long enough or the pan was not hot enough. Cover the batter and give it more time to ferment until it is bubbly and smells sour. Then make sure the pan is at the right temperature before cooking.
There is a quick version using a small amount of yeast and this can achieve some fermentation in a couple of hours, but the batter will lack the characteristic sourness and complexity of the traditional method. For authentic injera, the wild fermentation process is worth the wait.
Injera tastes mildly sour and tangy, similar to a gentle sourdough, with an earthy note from the teff. The sourness deepens the longer the batter ferments.
Injera is best eaten the same day it is made. It may keep for a day or two wrapped in cloth at room temperature but may start to dry and harden over that time.
Related
Looking for other recipes like this? Try these:
Recipe

How to Make Injera
Ingredients
- teff flour - (2 cups) 250 g
- filtered or spring water - or spring water (3 cups) 710 mls
- salt ¼ teaspoon
Instructions
- Make the batter. Whisk 250 g teff flour with 710 mls filtered or spring water until smooth, roughly the consistency of thin pancake batter. Transfer to a large glass or ceramic bowl leaving plenty of room, as it will rise.
- Ferment. Cover loosely with a cloth and leave at room temperature (21-24°C / 70-75°F) for 3-4 days. Don't stir it. Bubbles will appear on the surface and it will develop a distinctly sour smell, these are good signs that fermentation is taking place. A little clear liquid on top is normal and a small amount of surface mould can be scooped off and discarded.
- Pour off the liquid. On the final day, pour away the water that has collected on top and discard anything floating on it.
- Cook the absit (thickener). Take about 120 g or half a cup of batter, mix it with 240 ml or a cup of water in a small pan and heat gently, stirring, until it thickens to a loose paste. Stir this back into the main batter along with ¼ teaspoon salt. This step gives injera its characteristic softness. Loosen with a little water if needed, the batter should pour easily.
- Cook. Heat a large non-stick pan over medium heat with no oil. Pour the batter in a spiral from the outside inwards, covering the base in a thin layer. Cover with a lid and cook, do not flip. The top will set and fill with tiny holes and the edges will lift after 2-3 minutes. Remove and cool on a cloth.
- Repeat with the remaining batter, stacking the cooked injera as you go. Always serve injera at room temperature.
Nicole's Notes
- Don't rush the fermentation - in a cool kitchen it could take 5 days rather than 3. Once you see bubbles in the batter accompanied by a sour smell, it is ready.
- Cook them on one side only - Injera is never flipped, the holes form as the top sets.
- Keep them soft - stacking the cooked breads and covering them with a cloth as they cool stops the edges from drying out.
- Make ahead - the fermented batter will keep in the fridge for a day or two, but cooked injera is best eaten the day it is made.
Only you will see your notes and you can edit them anytime.
Nutrition
Nutritional information calculated automatically per serving, accuracy cannot be guaranteed.
Comments
No Comments